Loading...

Milk Collector Bottles

Category
  • What’s in the box?

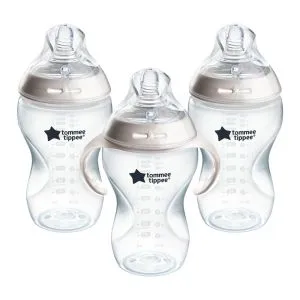
    4x Collector Bottles

    4x Storage Lids

    1x Slow Flow Nipple

    1x Screw Ring

    1x Bottle Hood

  • How to assemble?

    1.  Due to the larger size of Tommee Tippee’s new nipple and screw ring, care needs to be taken during assembly to ensure that the nippleis in the correct position shown (diagram a).
    2.  The best method of assembly of the nipple and screw ring is to carefully pull the nipple through the ring in different directions to ensure the silicone lip fully ‘clips’ over the edge of the screw ring. The area where the nipple and screw ring meet should be flush as shown (diagram b). Though you may find this tricky at first, you will quickly develop a technique and find it as easy as a conventional teat and screw ring.

    How to assemble bottle collector image A and B showing the screw ring in the correct place

  • How to use as a bottle?

    To make it even easier to feed your baby the breast milk you’ve expressed, your milk collector bottle is compatible with our nipple, so you can use it just like a regular bottle.

    To do this, assemble the nipple to the screw ring, attach to the milk collector, and you’re ready to feed!

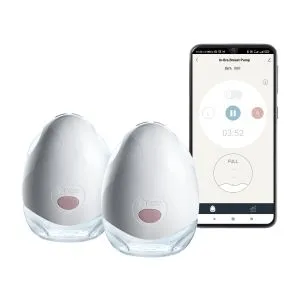
    To store your breast milk for later, remove the collector bottle sub-assembly from the pump and put in the fridge or freezer as preferred with the storage lid on. If freezing, ensure the bottle isn’t over-filled and does not exceed the maximum capacity (150ml).

    Alternatively, store your breastmilk in line with healthcare guidelines.

  • Still need help?

    If you’re still looking for an answer, get in touch with us here
  • Cleaning

    • Before first use, clean the product.
    • Clean before each use. Always wash the product immediately after use.
    • Wash in warm soapy water and rinse in clean water or use a dishwasher (top shelf only).
    • Do not clean with solvents or harsh chemicals.
    • Do not allow product to come into contact with oil-based foods (e.g. oil/tomato based sauces) as staining will occur.

    Images showing how to clean  milk collector bottle1 throught to 5

    • Do not turn the nipple inside out for cleaning as this could cause damage, use a nipple cleaning brush.
    • Take extra care when cleaning the sensitive anti-colic nipple valve.
    • Do not use a teat brush or any other implement to clean the anti-colic valve and/or the feeding hole as damage such as splits and tears may occur. However, performance of the teat may be affected if the anti-colic valve is not cleaned thoroughly after each use.
    • Ensure valve is flushed with warm water during cleaning.

    How to clean teat from the inside of the teat and not cover the anti colic valve

  • Sterilizing

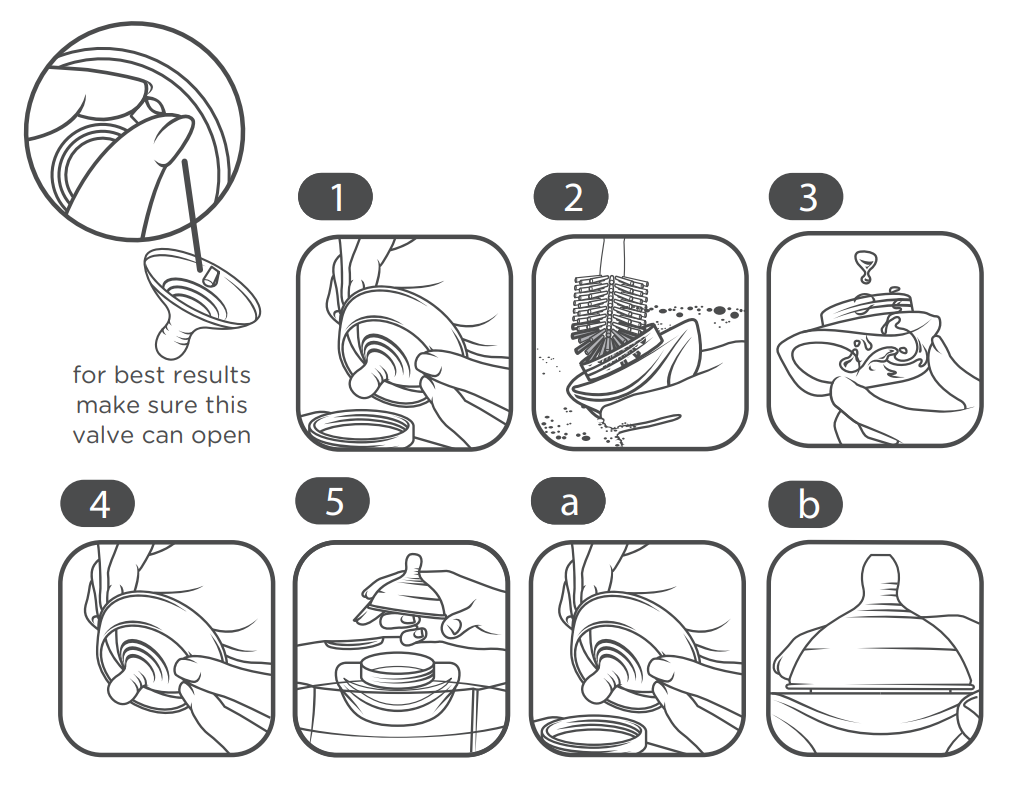
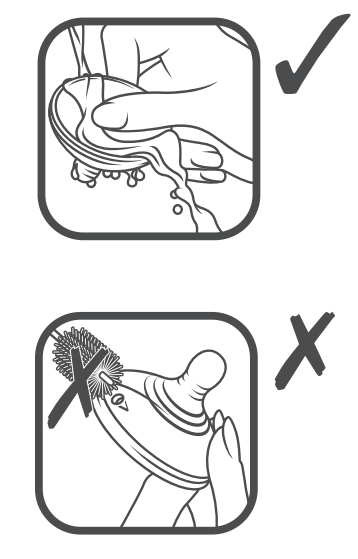
    Before first use place in boiling water for 5 minutes. This is to ensure hygiene. Suitable for all forms of sterilization by steam (electric or microwave), boiling or cold water tablet/ liquid solution.

    1. After each use disassemble all parts of the bottle.
    2. Wash thoroughly with warm soapy water.
    3. Rinse all components using fresh water.
    4. After rinsing, re-assemble the nipple and screw ring.
    5. Place all components including the nipple and screw ring assembly in the steriliser.

    After sterilization the nipple can then be picked up using the screw ring and used as normal.

  • Inspect before each use and pull the feeding nipple in all directions.
  • Do not store or leave in direct sunlight or near a source of heat.
  • Do not leave a feeding nipple in direct sunlight or heat or leave in disinfectant (“sterilizing solution”) for longer than recommended, as this may weaken the nipple.
  • For safety and hygiene reasons it is recommended the feeding nipple is replaced at least every 2 months.
  • Do not heat in a microwave with bottle sealed. Remove nipple, locking ring and bottle hood.
  •  What should I do if my collector leaks?

    Check that the pink o-ring is correctly fitted in the lid.  It helps create a seal when the lid is screwed in place so it is important that it is inserted evenly all the way round and is free of any foreign objects.

  • What is the o-ring?

    The o-ring is the thin pink ring that sits inside your milk collector lid.  It should be in place before you screw the lid in place.