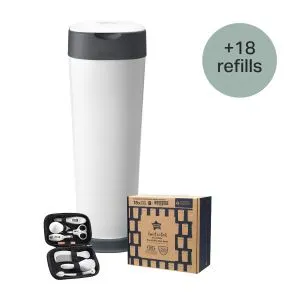
£89.99
Worth
£148.95
If bought separately
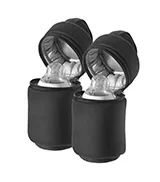
Ultimate XL Nappy Disposal Bundle with 18 Refills
Bundle & Save 40%